")
")
Content:
Palette window
The palette window is opened by a short click on the material card, it lists all the materials from the pattern file. If you have the selection area activated, then only materials and elements from this area will get into the palette.
By clicking on the column header (number in the palette #, color, info, stitch icons), you will sort the palette by the value in this column, clicking again will change the sort order.
Attention! The Auto Next Color feature switches colors exactly in the order you selected in the palette.
When you click on a line in the palette list, that color is selected.
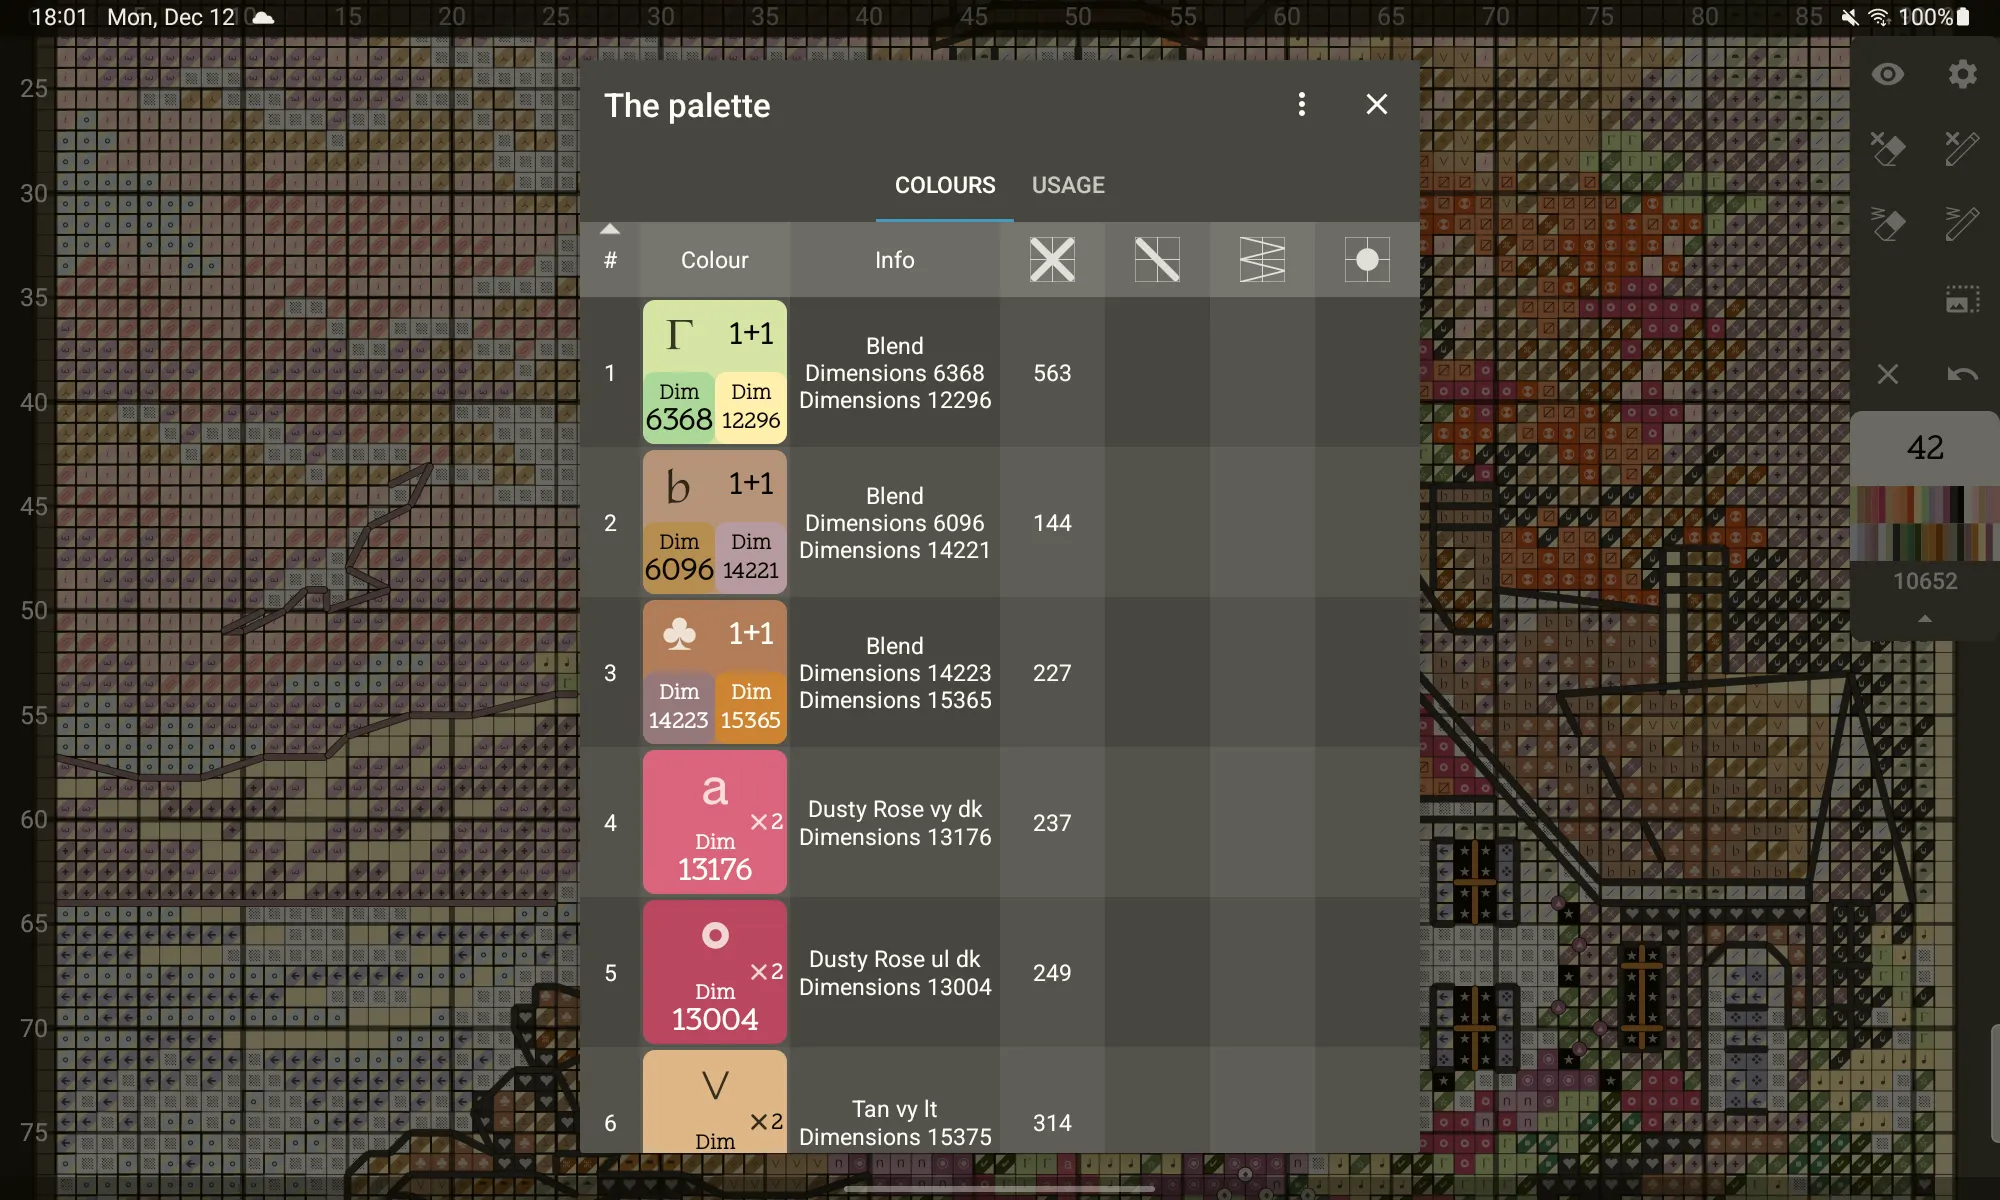
Sort by order from file

Sort by number of crosses

Total number at the bottom of the table
Each cell of the table can display:
— number of —number of unsewn elements in total, or in the activated area
— number / 100% — means the element of the given color is fully stitched
— stitched / total / completed% — if the elements are stitched but not completely
At the bottom of the list is a line with the total number for each stitch type.
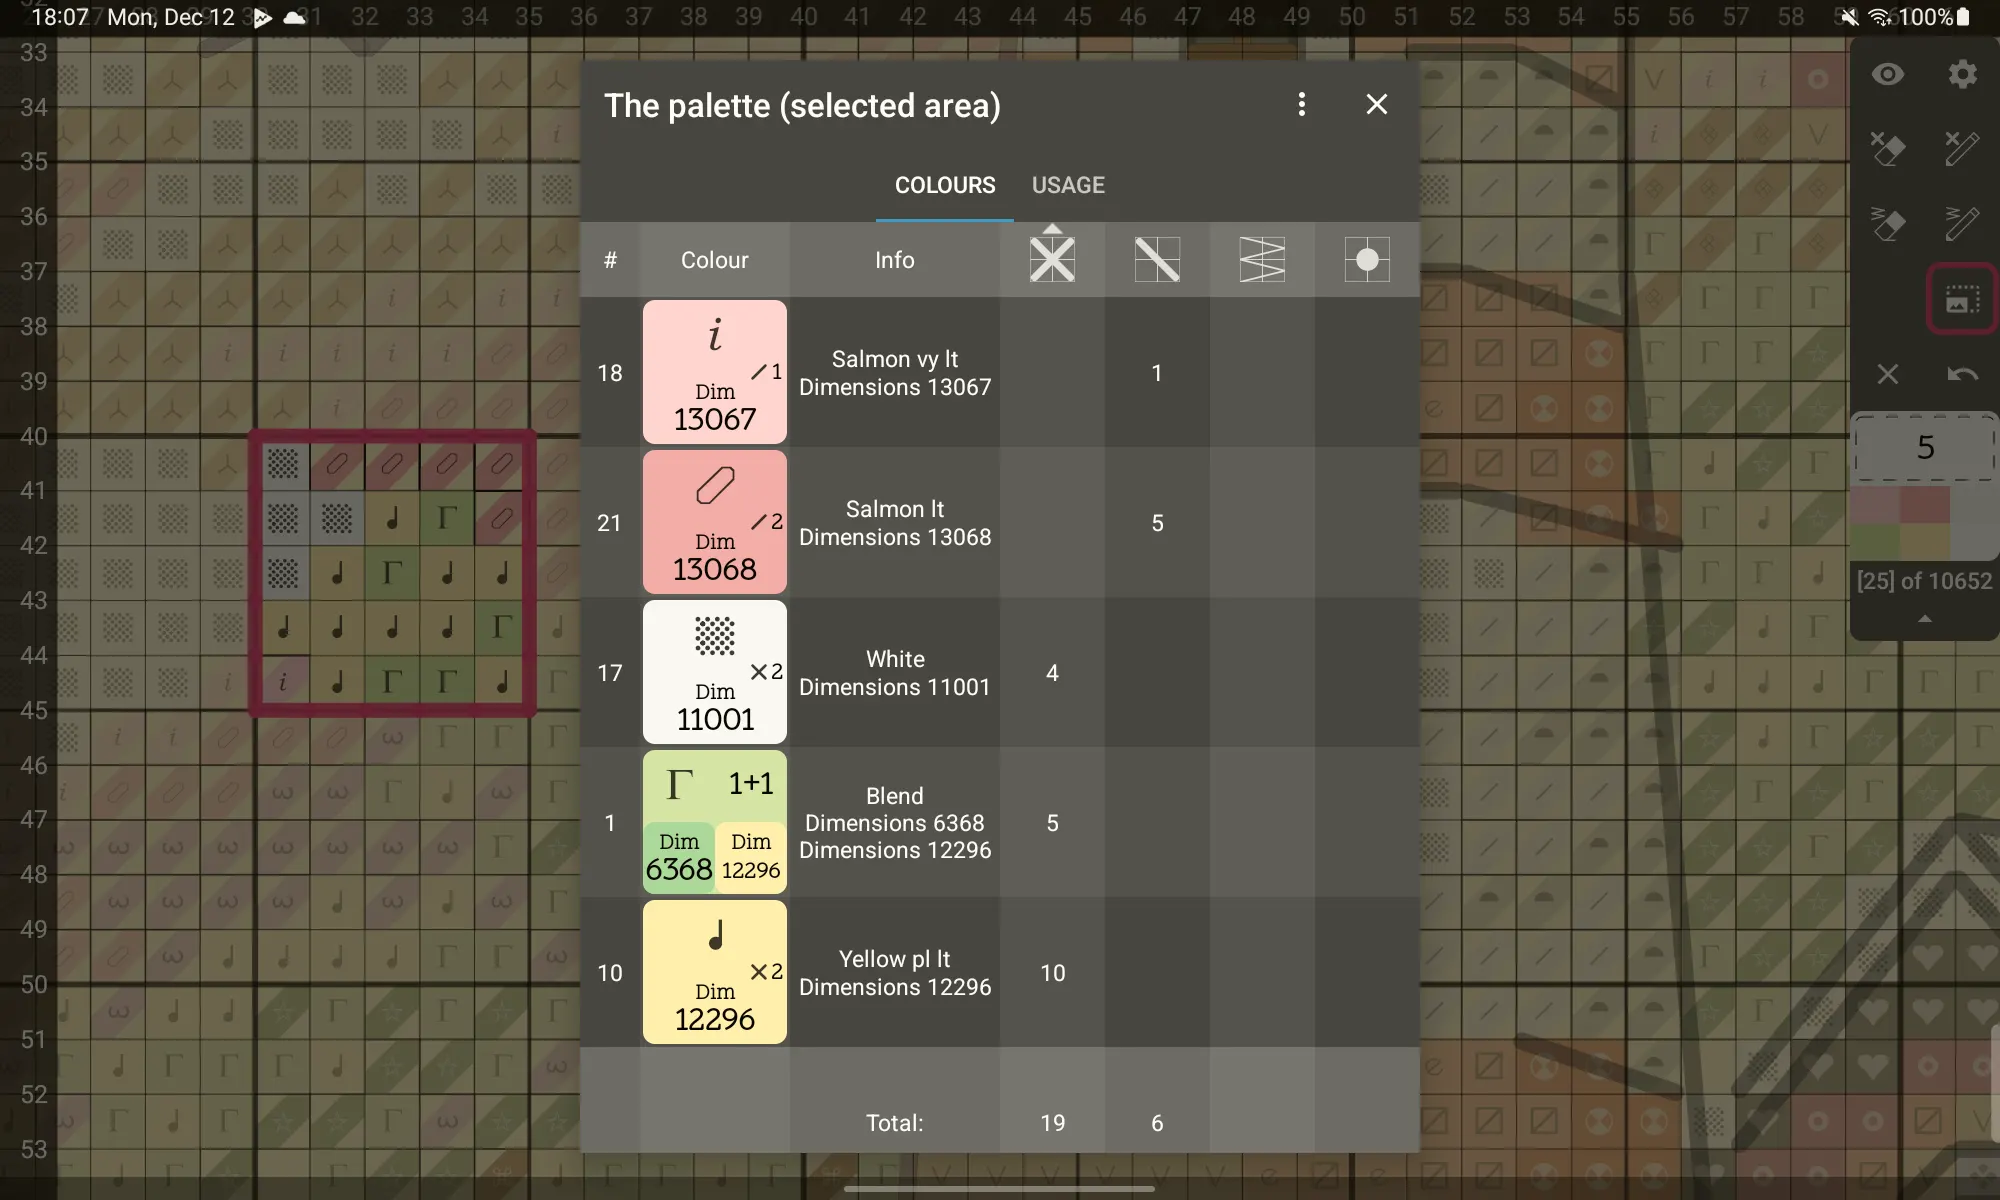 Palette for the selected area - 5 colors in total
You can close the palette by tapping outside the palette window or by pressing "Back" on your device.
Also, in the settings of the palette window, you can activate the option "Close the palette immediately after choosing a color" so that the palette closes automatically.
Palette usage example
Parking marks
The parking mark is used to mark the location of a parked thread of a certain color.
To add a parking mode button to the main panel, enable it in the settings panel:
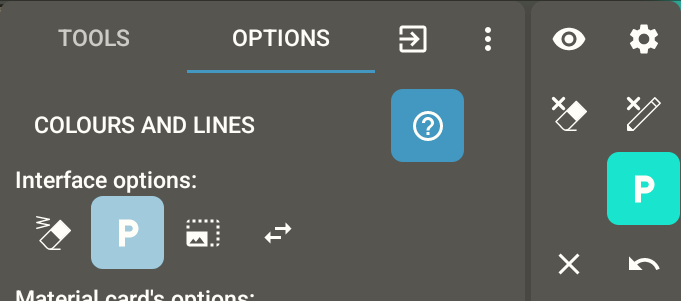 Adding a parking button to the main panel
In order to mark a place with a parking mark, you must press the "P" button and touch the position. If a color was selected at the same time, the parking mode will automatically switch to viewer mode and you can select the next color to embroider.
To remove the parking mark, you need to:
- erase the stitch under the mark
- in the parking mode, touch the mark again
Setting the mark can also be canceled by the "Undo" button
 Setting a parking mark
Parking marks placing example
Selected area
The selected area is used to isolation of any section of the chart to work only with elements in the area.
With active area, eraser and pencil modes work only within the selected region. In Palette only the colors and the number of elements from the area remain.
Inside the selection, you can also highlight a specific symbol.
To add a selection mode button to the main panel, enable it in the settings panel:
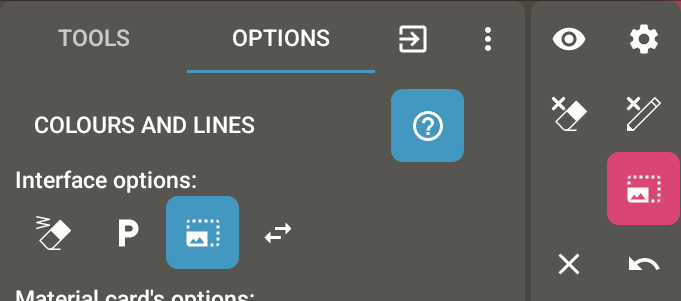 Adding a selection button
 Editing a selection
 The selected area is active, it has 7 colors and 162 crosses
Create a selection
- Switch to the create/edit area mode - the button is filled with crimson color, a crimson frame appears around the screen
- Touch the chart to create a base point
- Touch one more place, the points will connect in the shortest way
- If you need a special path instead of the shortest path, then tap and immediately start drawing the desired path.
Note: if you want to change the position of the base points in such an area, then your path will be replaced with the shortest path due to coordinate recalculation. - If you want to move a base point, tap it and start moving
- If you need to remove a base point, long press on it.
- Repeat steps 2-6 until you get the desired area. There is no need to close the area, the first and last base points will automatically connect when the area is activated
- Click again on the edit area button and it will have activated, the button will have a crimson border, the palette will have filtered, and the erase and restore modes will start working only for the selected area.
To remove the activation of selection, click again on the area edit button, the frame will disappear from it, the area outline will become translucent.
To re-activate the area, click the edit area button, getting into edit mode, then again, activating the area.
Create an area
Changing the selection area
To change the area, you need to return to edit mode again - the button is filled with color, the screen is highlighted. In this mode, base points are highlighted with circles.
Area containing arbitrary path, you can only move by clicking inside it. If you change the position of any base point in such an area, then all connections are recalculated along the shortest path.
To move the entire area, click inside it and move it.
To move a base point - click on it and move it.
To delete a base point, press and hold on it.
To add a new point on the edge of the area - touch the edge, you can touch and immediately move the new point.
To remove the entire area — you can long press the area creation button in any mode, or in edit mode you can long press outside of the region, this will create a new base point. The deleted area can be returned with the "Undo".
Free area editing
Automatic switch to the next color
This mode will be useful for those who embroider from smallest to largest in a small selected area.
This algorithm is enabled in the main program settings "Switch to the next color after using "Mark all as Completed"
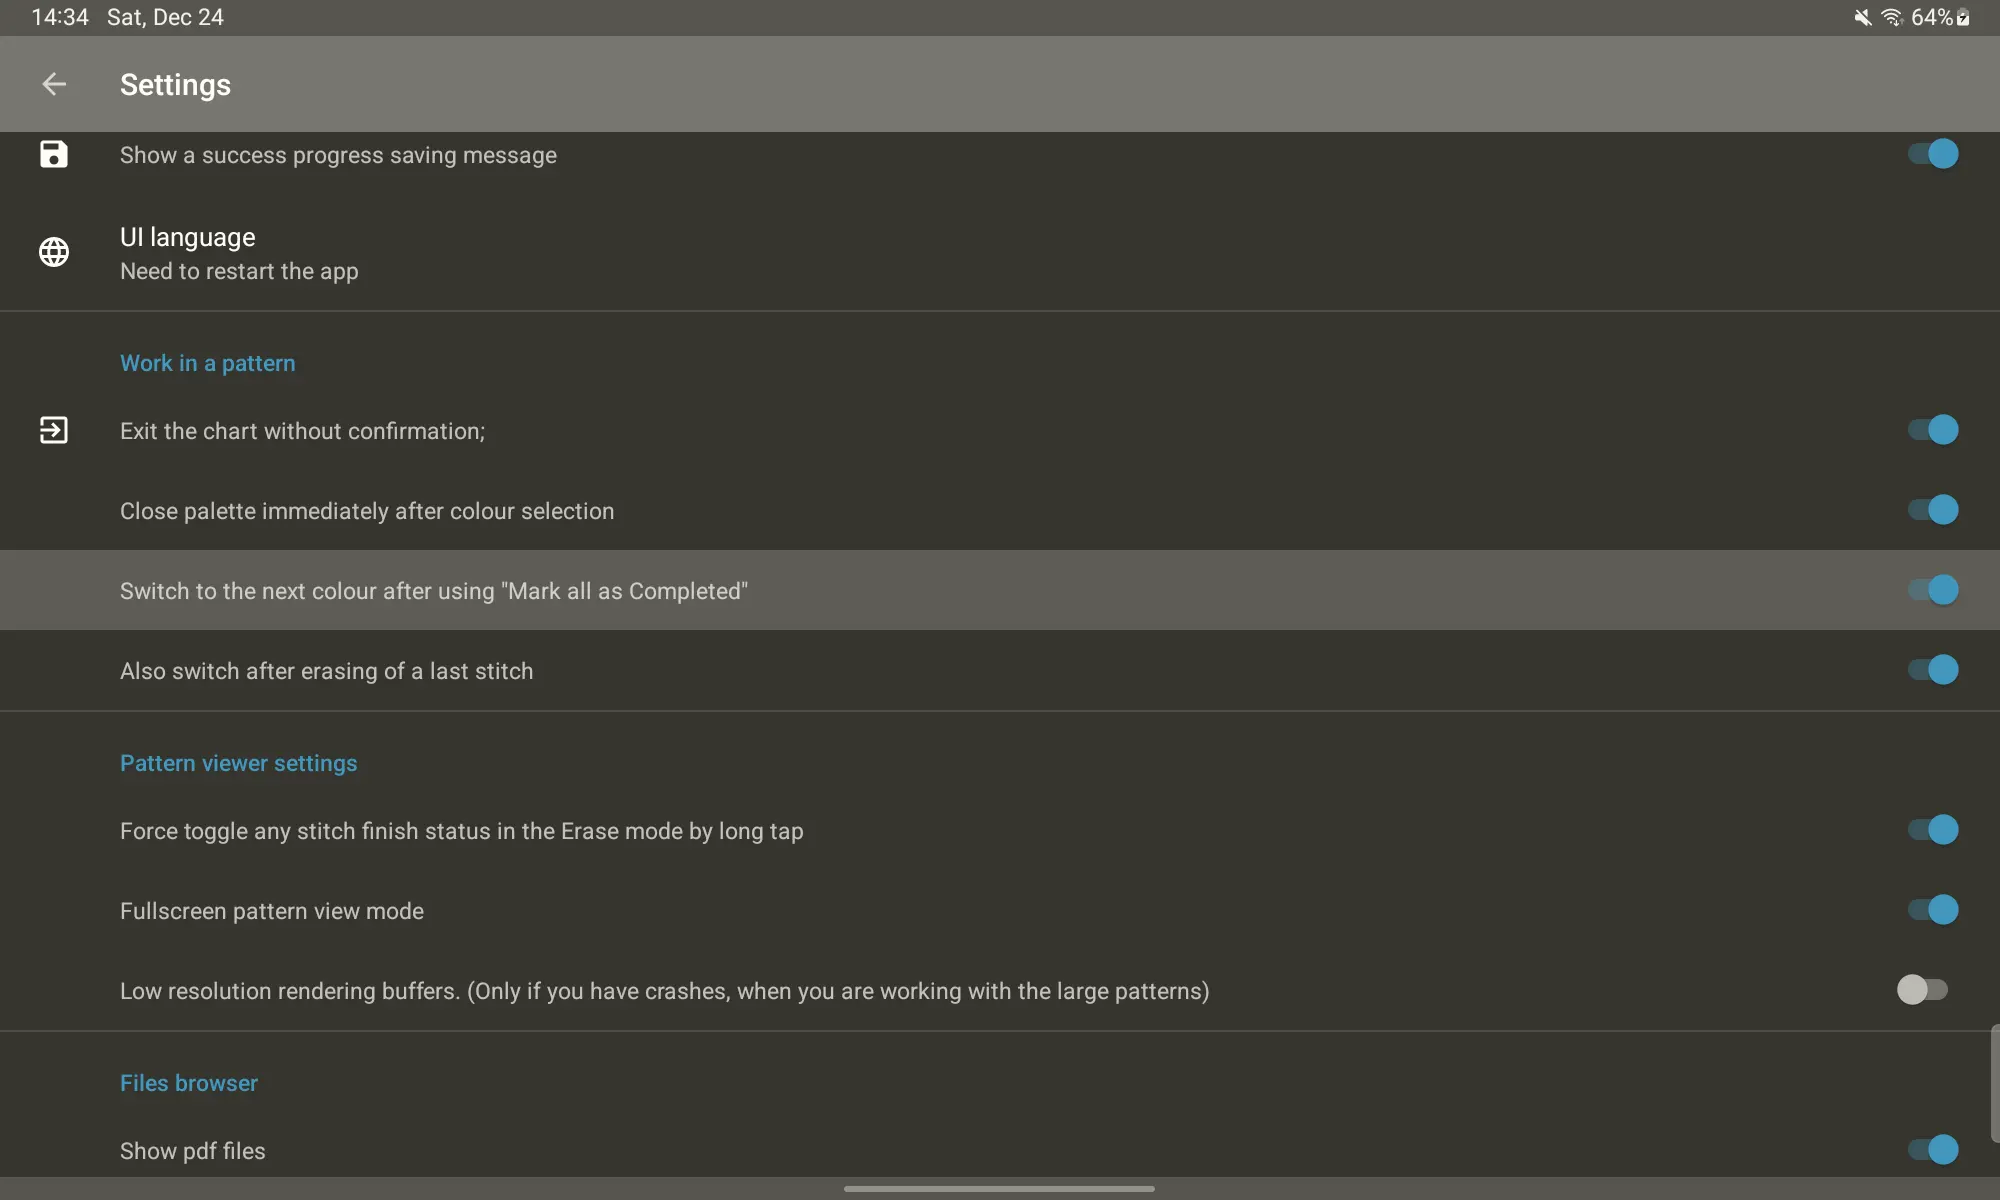 Enabling auto switch to the next color
Procedure:
- Create and activate the selection area.
- Go to the palette, check that sorting by crosses from smallest to largest is selected, select first color.
- Embroider it all in the area.
- Long hold the eraser, the entire selected color in the area is erased, the next one in order from the palette is automatically selected.
- Repeat steps 3-4 until you completed off the entire area.
- Move or create an area in a new location.
Working with auto switch mode
Using the manual palette navigation arrows
Sometimes you want to choose a different color than the one that the program suggested automatically. To do this, buttons for quickly moving around the palette have been added. You can activate the buttons on the settings panel:
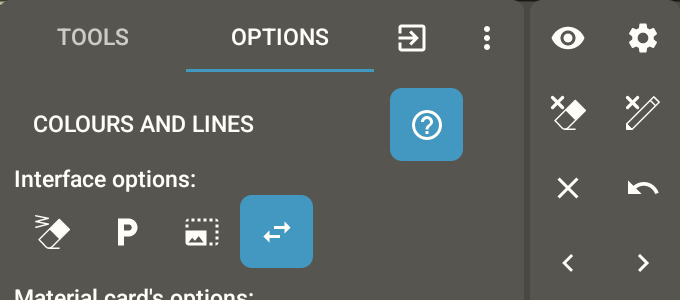 Adding manual palette switch buttons to the Main Panel
The buttons simply select the next or previous color in the current palette until they reach the end, then the color selection is deselected.