")
")
Content:
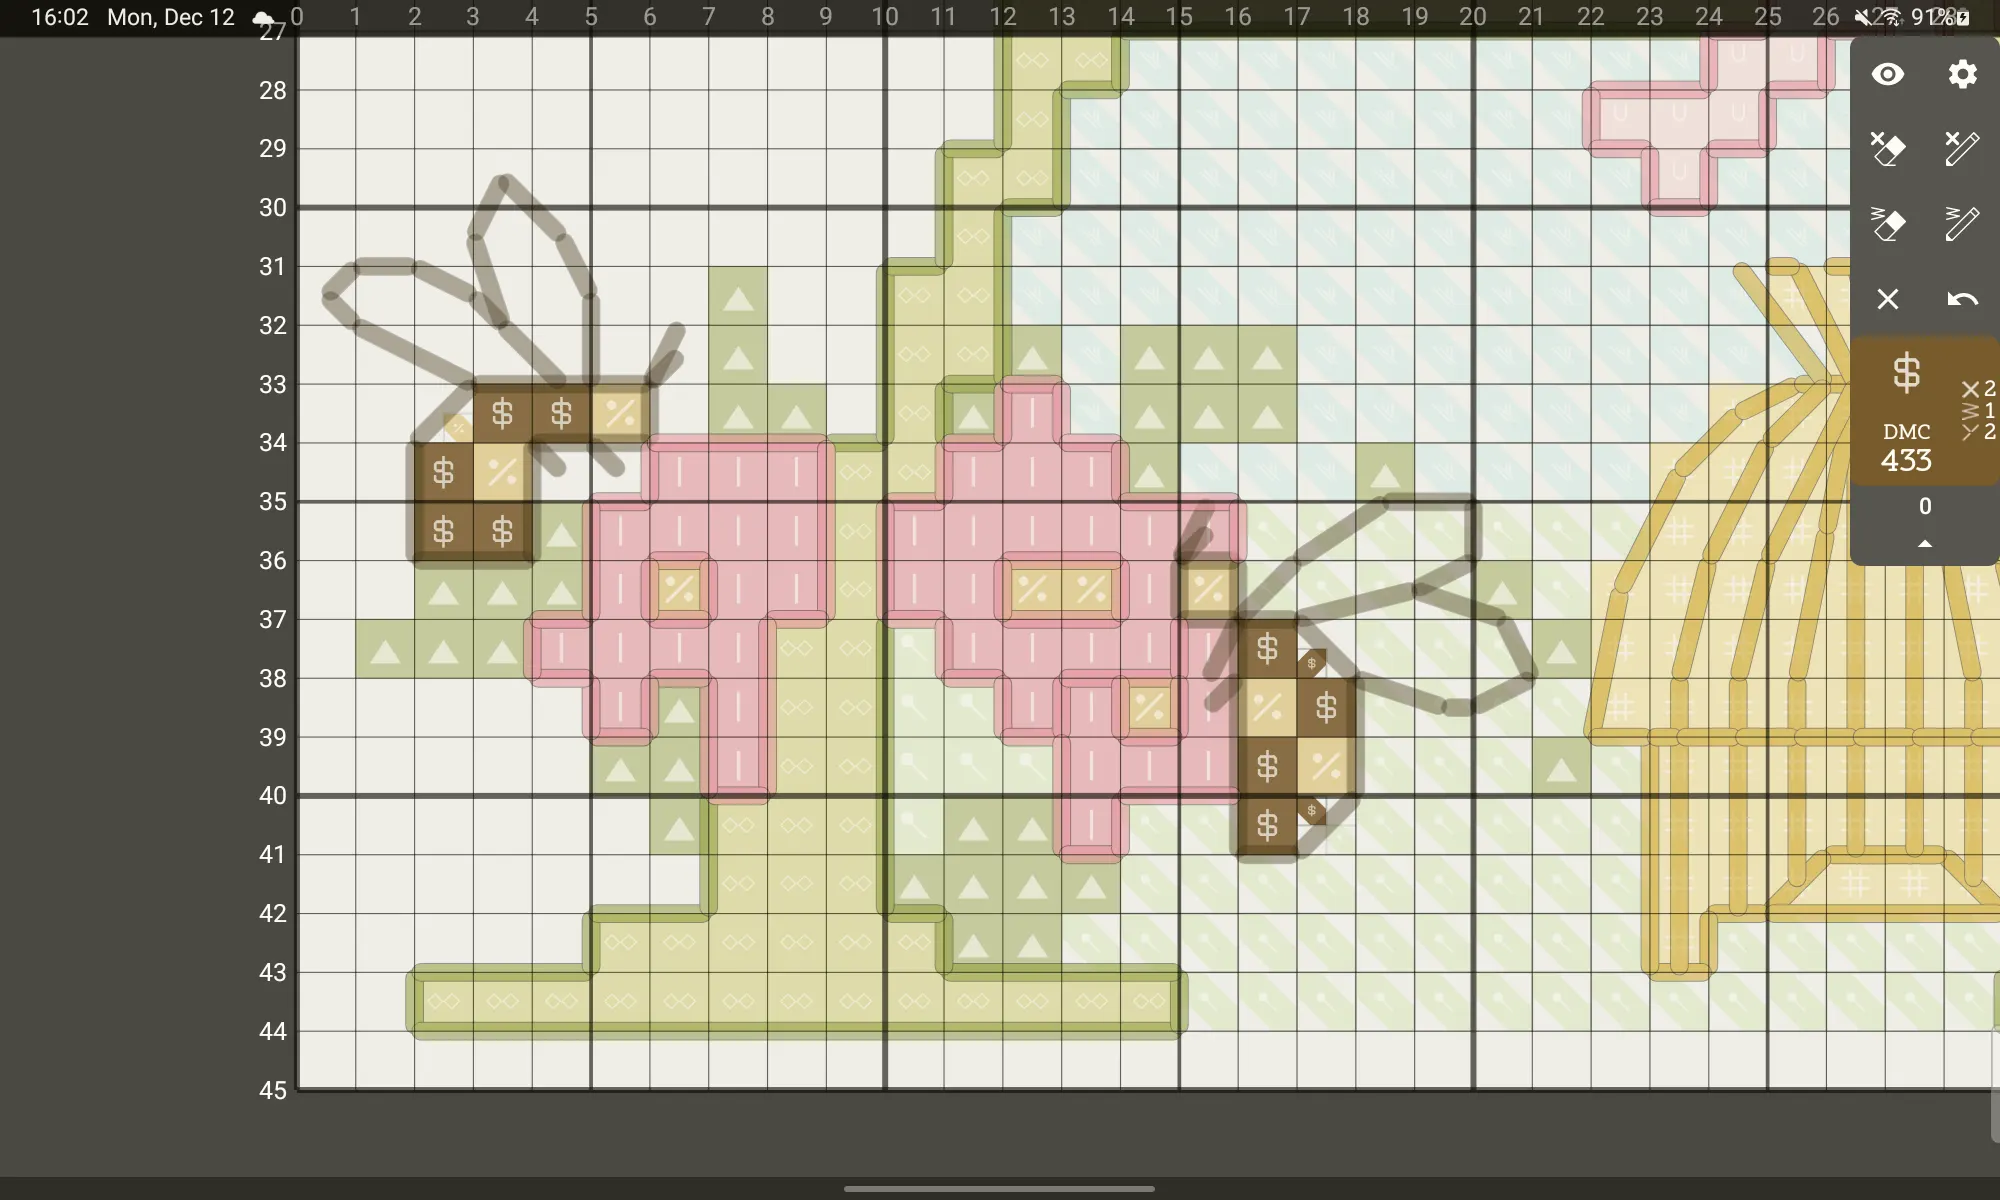
Cross stitching
Procedure:
- Select the «Work with cross stitches» in the view panel
- Zoom the area of embroidery you want to embroider
- Select an symbol for embroidery by clicking on it in view mode
- Look at the material card to see strand values for crosses, half-crosses, petites or quarter-crosses.
- Press the cross erase button to turn on the erase mode (blue frame around the screen)
- Embroidering some area
- Erase embroidered crosses
- If you erased the excess, press the «Cancel action» button with the back arrow
- If you erased the excess, but noticed it much later, press the pencil, the return mode turns on (green frame around the screen) and return the needed crosses, then press the erase again, returning to the erasure mode
- If you want to move around the chart, or change the scale, use two fingers
- Repeat until you want to switch to another symbol
- Click the «Reset selected material» button above the material card
- Return to step 3
Basic procedure
Erase all crosses in one step:
If a group of all cross stitches of a certain color is located compactly and you are embroidering them at one time, then with a long press on the erase button, you can erase them all. This action can be canceled with the «Cancel action» button

All crosses of the selected color in the compact group
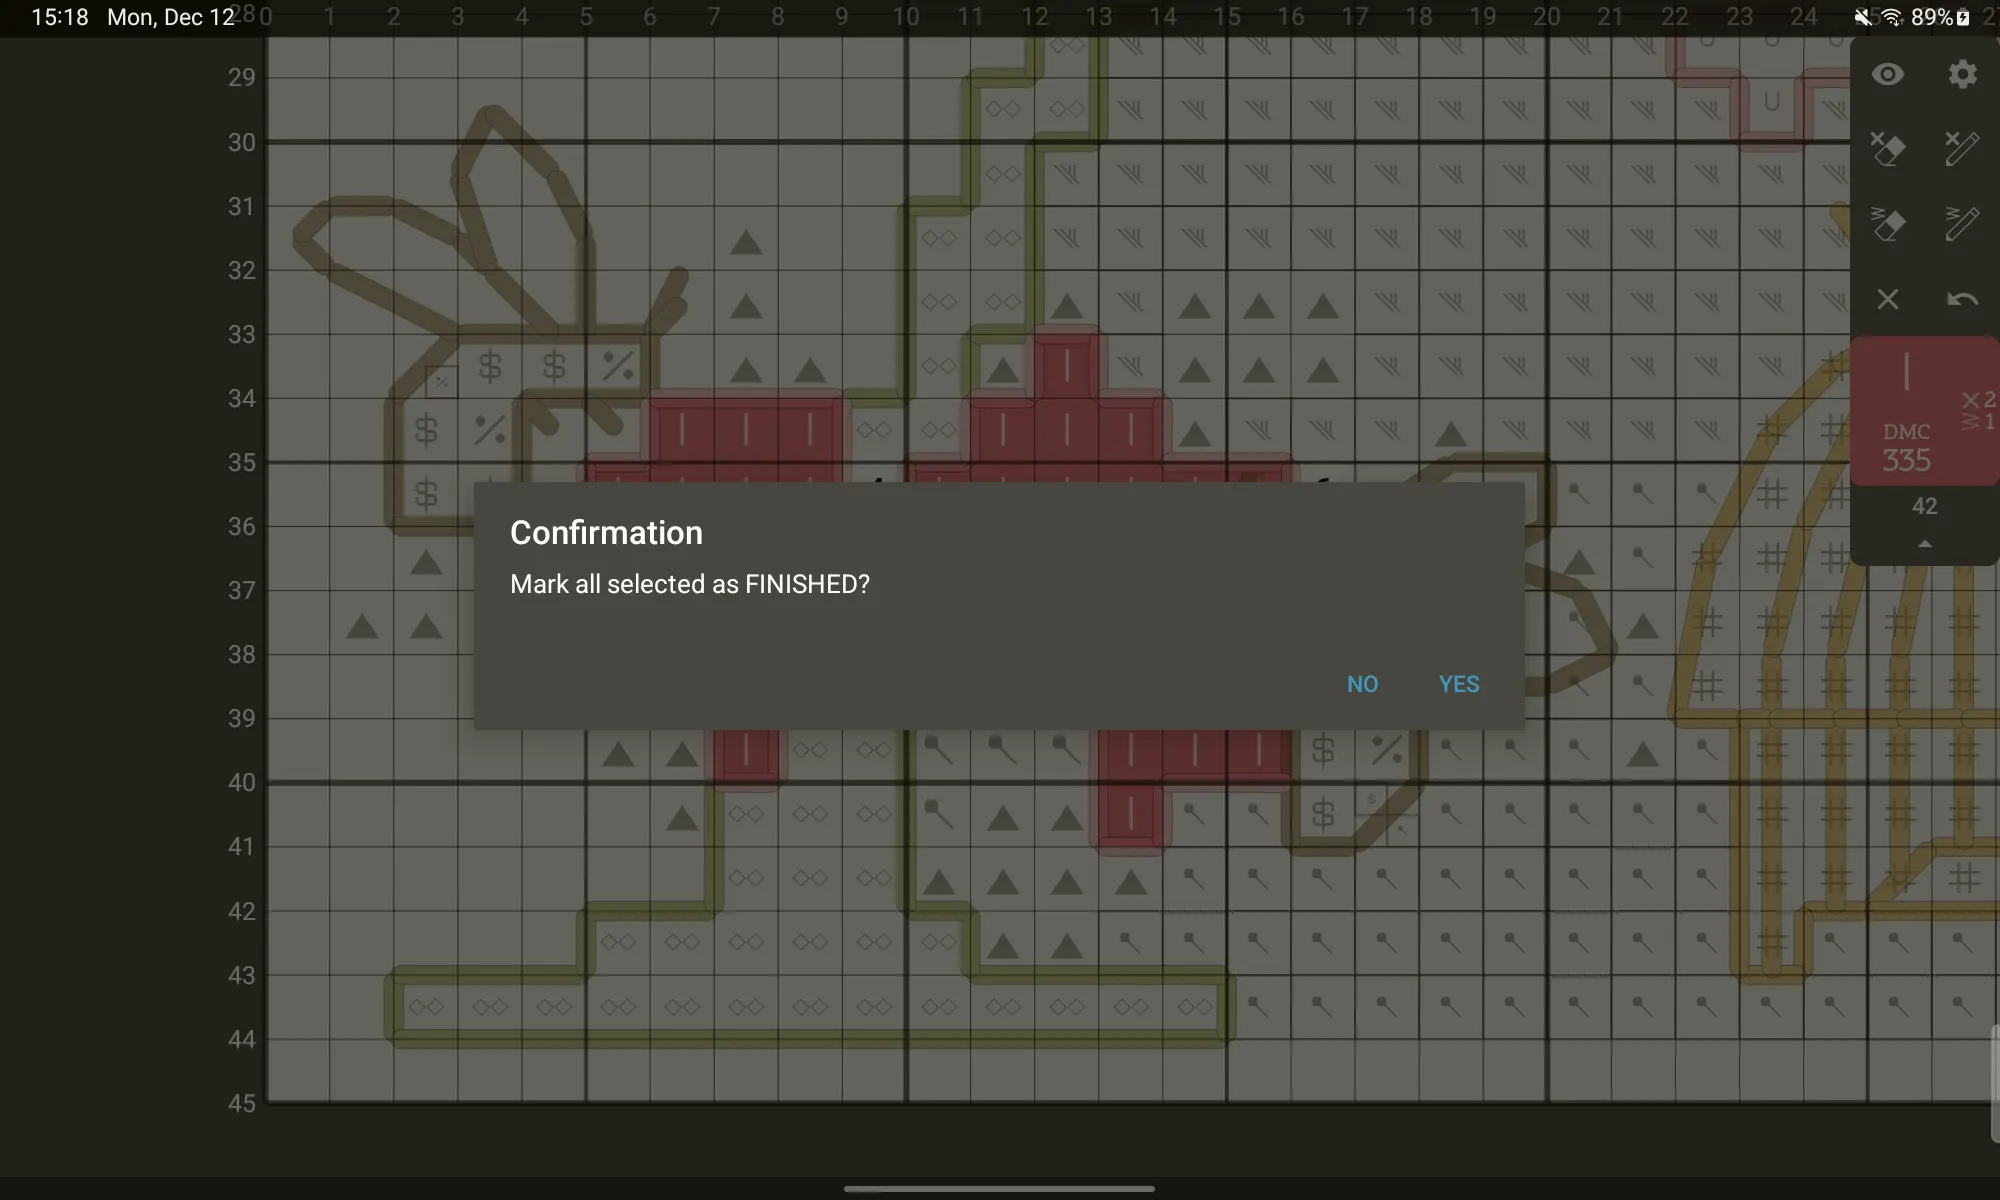
Warning before erasing
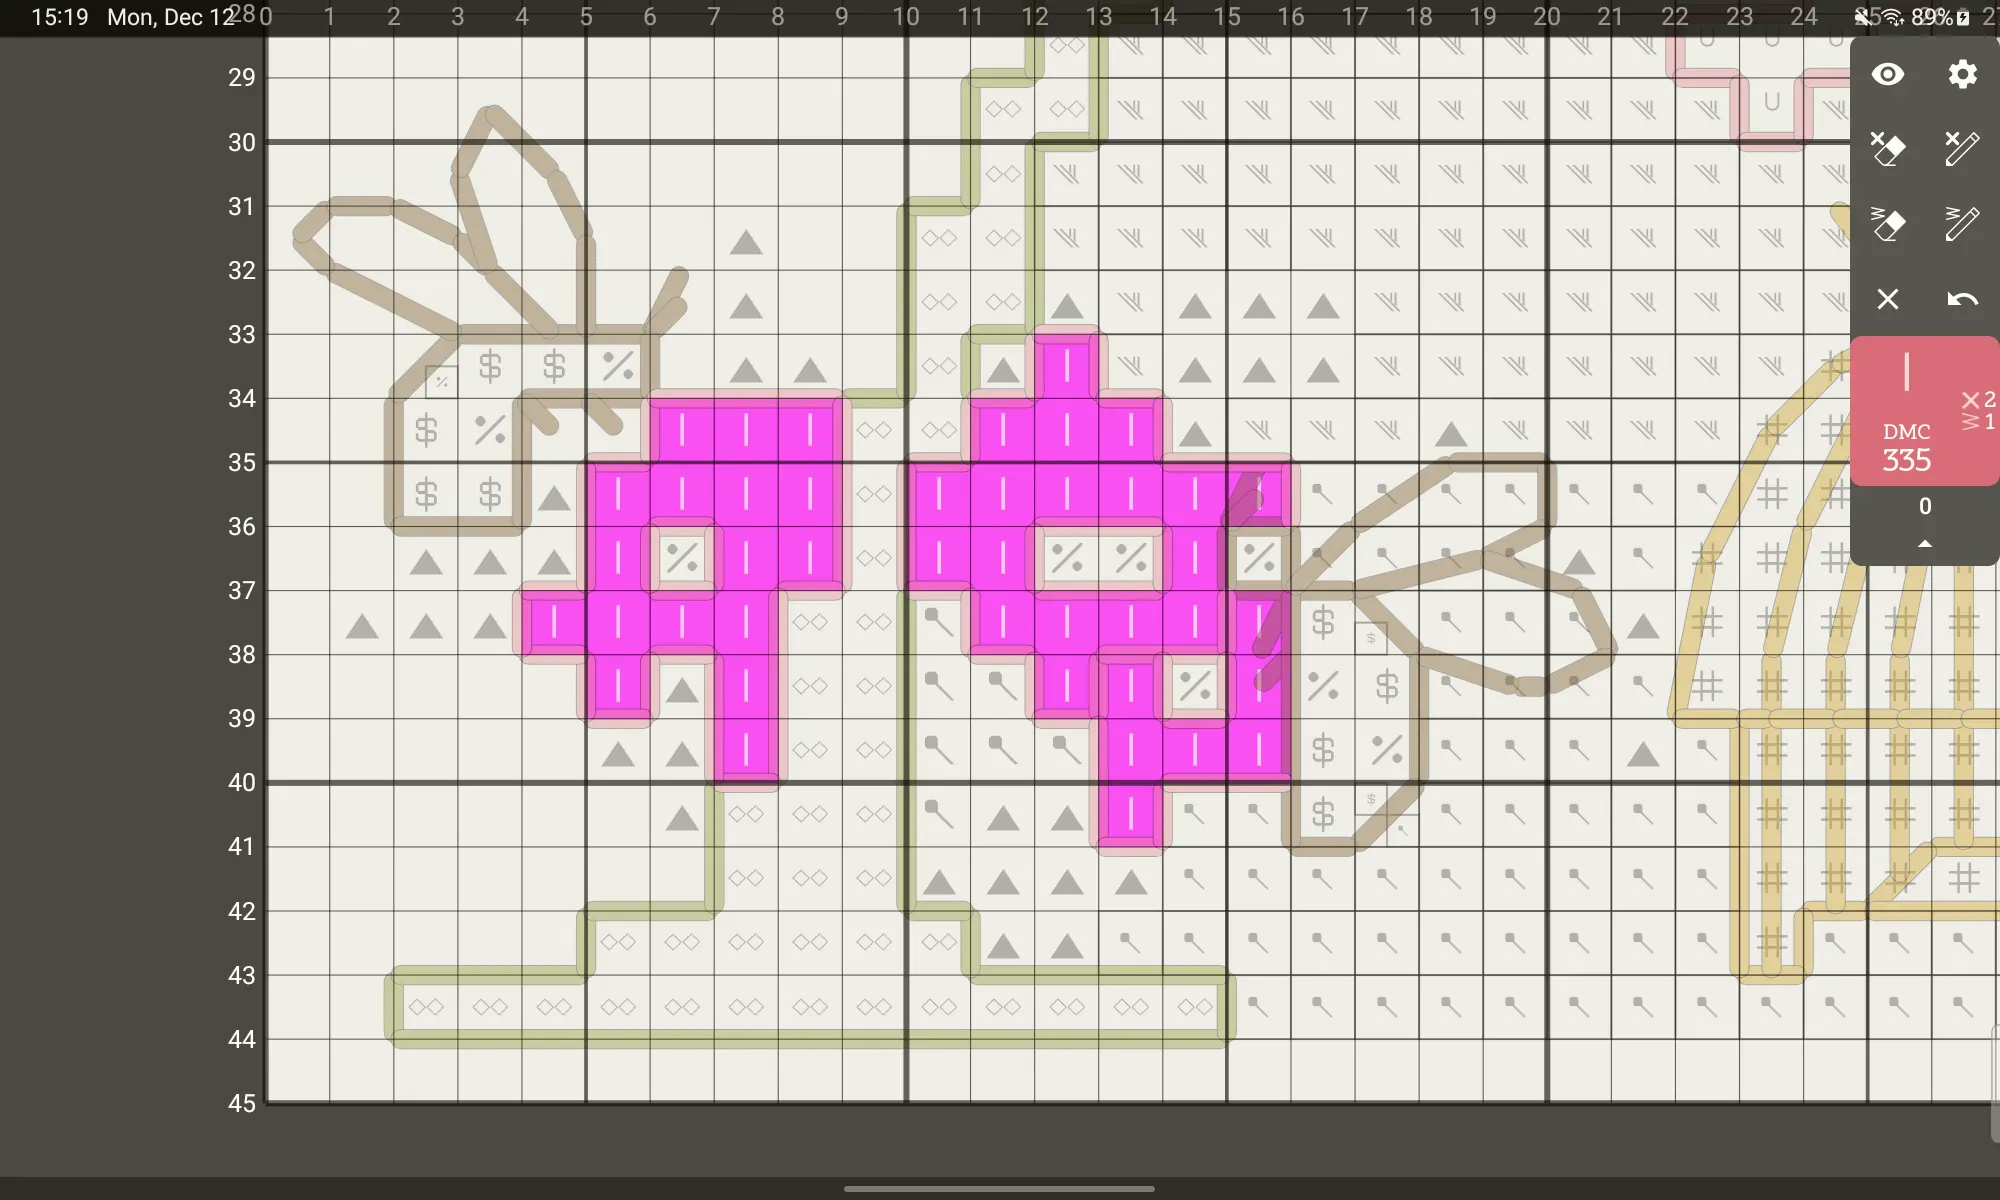
Result - all erased
A pencil can work in the same way, that is, restore all the crosses of the selected color if you accidentally erased them all and did not immediately notice
Erase and redo crosses can work if no color is selected. This can be useful if you need to transfer some already embroidered section to the chart without highlighting specific colors.
Backstitch embroidery and decorative elements (french knots, beads, decorative stitches)
Procedure:
- On the view panel, select the «Work with backstitch» display style to see the colors of the crosses under the backstitch lines or elements
- Zoom the area of embroidery you want to embroider
- Select the color of the backstitch or element by clicking on it in view mode
- Look at the material card to see what strand the backstitch or element is embroidered
- Press the backstitch erase button to turn on the erase mode (blue frame around the screen)
- Embroider some section of the backstitch or several elements
- Erase the embroidered areas of the backstitch by scroll your finger over them. Or erase an element by touching it
- If you erased the excess, press the «Cancel action» button with the back arrow
- If you erased the excess, but noticed it much later, press the pencil, the return mode turns on (green frame around the screen) and return the necessary backstitch stitches or the necessary elements, then press the eraser again, returning to the erasure mode
- If you want to move around the chart, or change the scale, use two fingers
- Repeat until you want to switch to another symbol
- Click the «Reset selected material» button above the material card
- Return to step 3
Working with backstitch
Erase backstitch in one step:
If the backstitch or elements of the same color are located compactly and you embroider them at one time, then by long pressing the «Erase Backstitch» button you can erase the entire backstitch or elements of that color. This action can be canceled with the «Cancel action» button
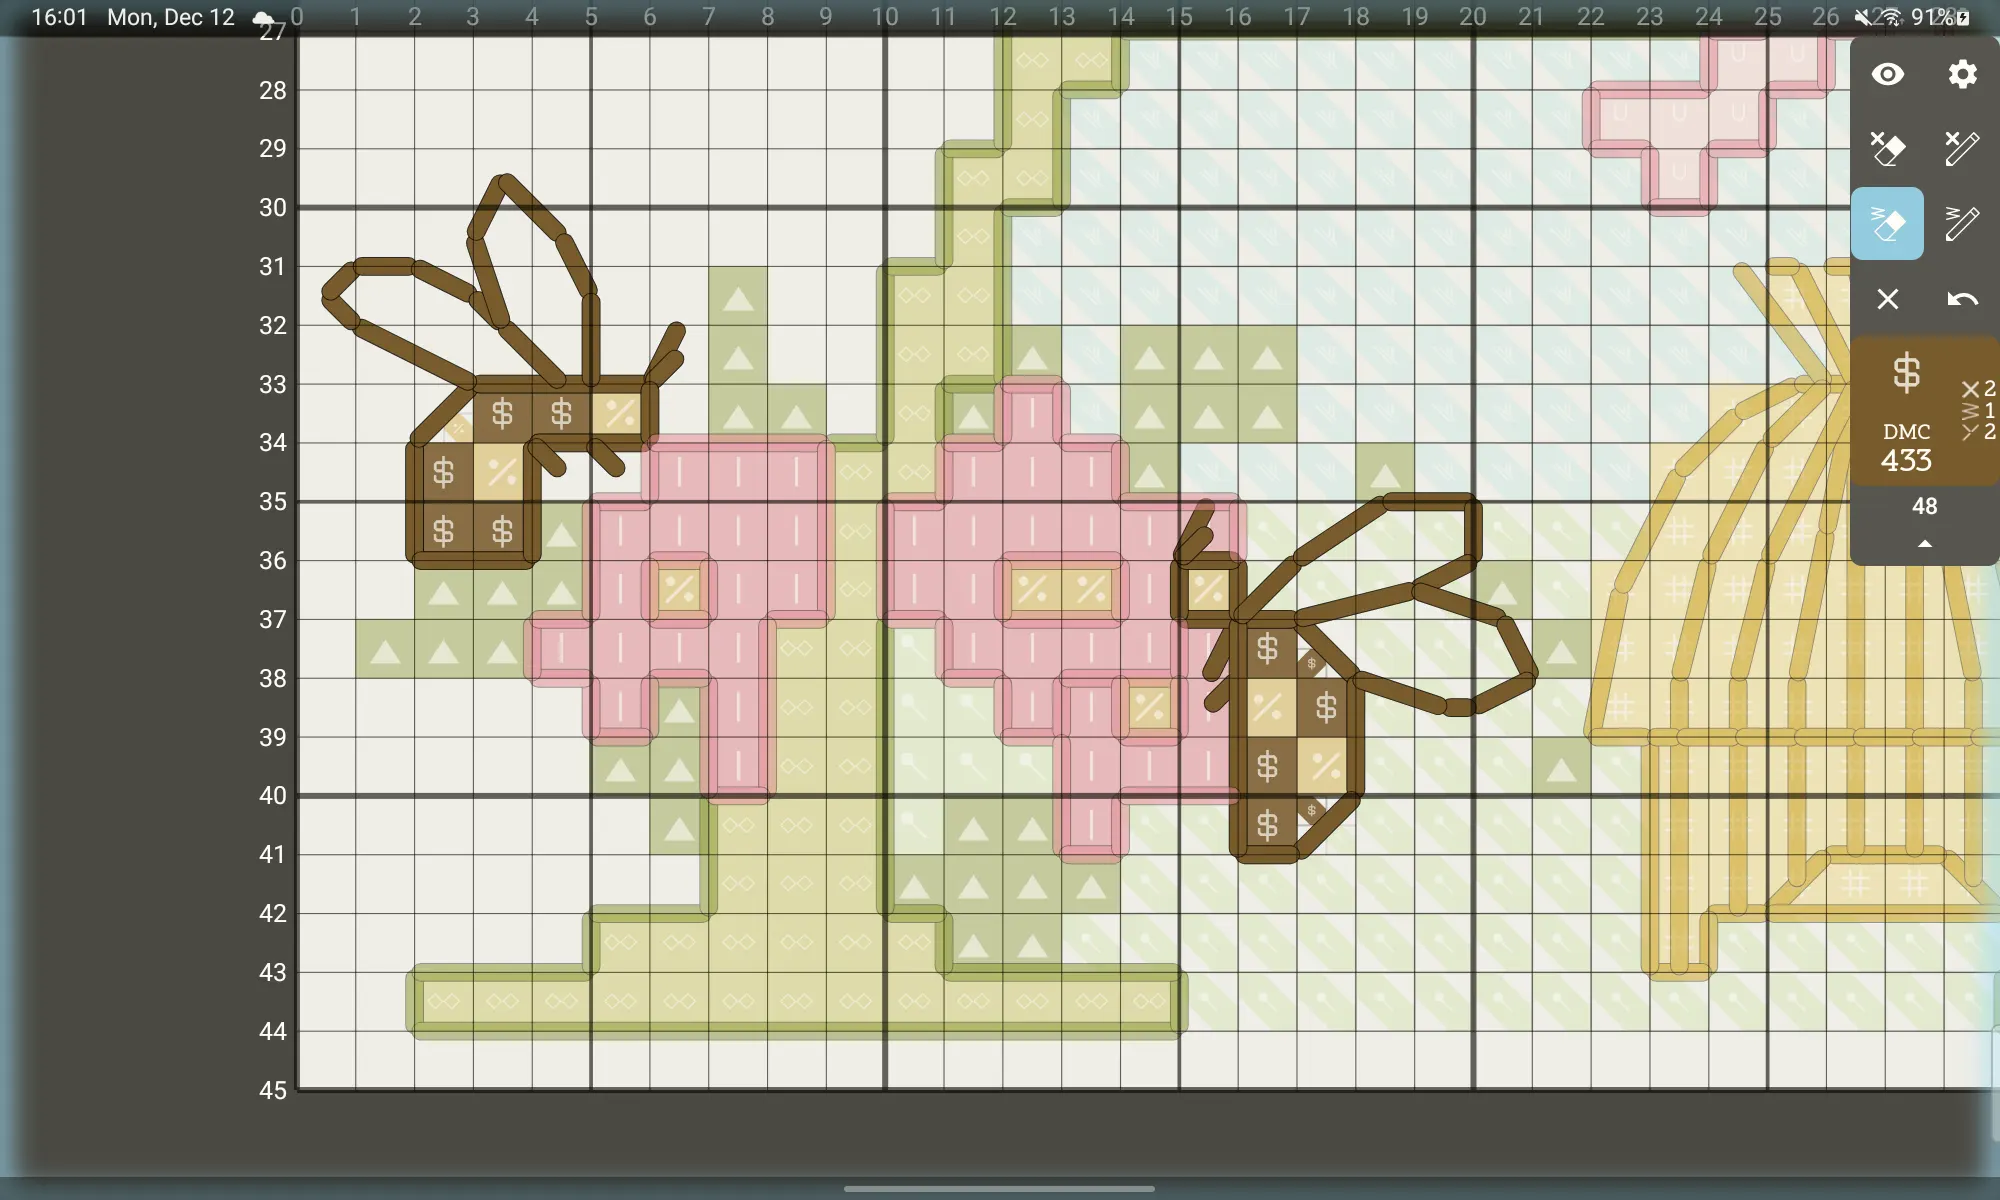
All backstitch of the same color side by side
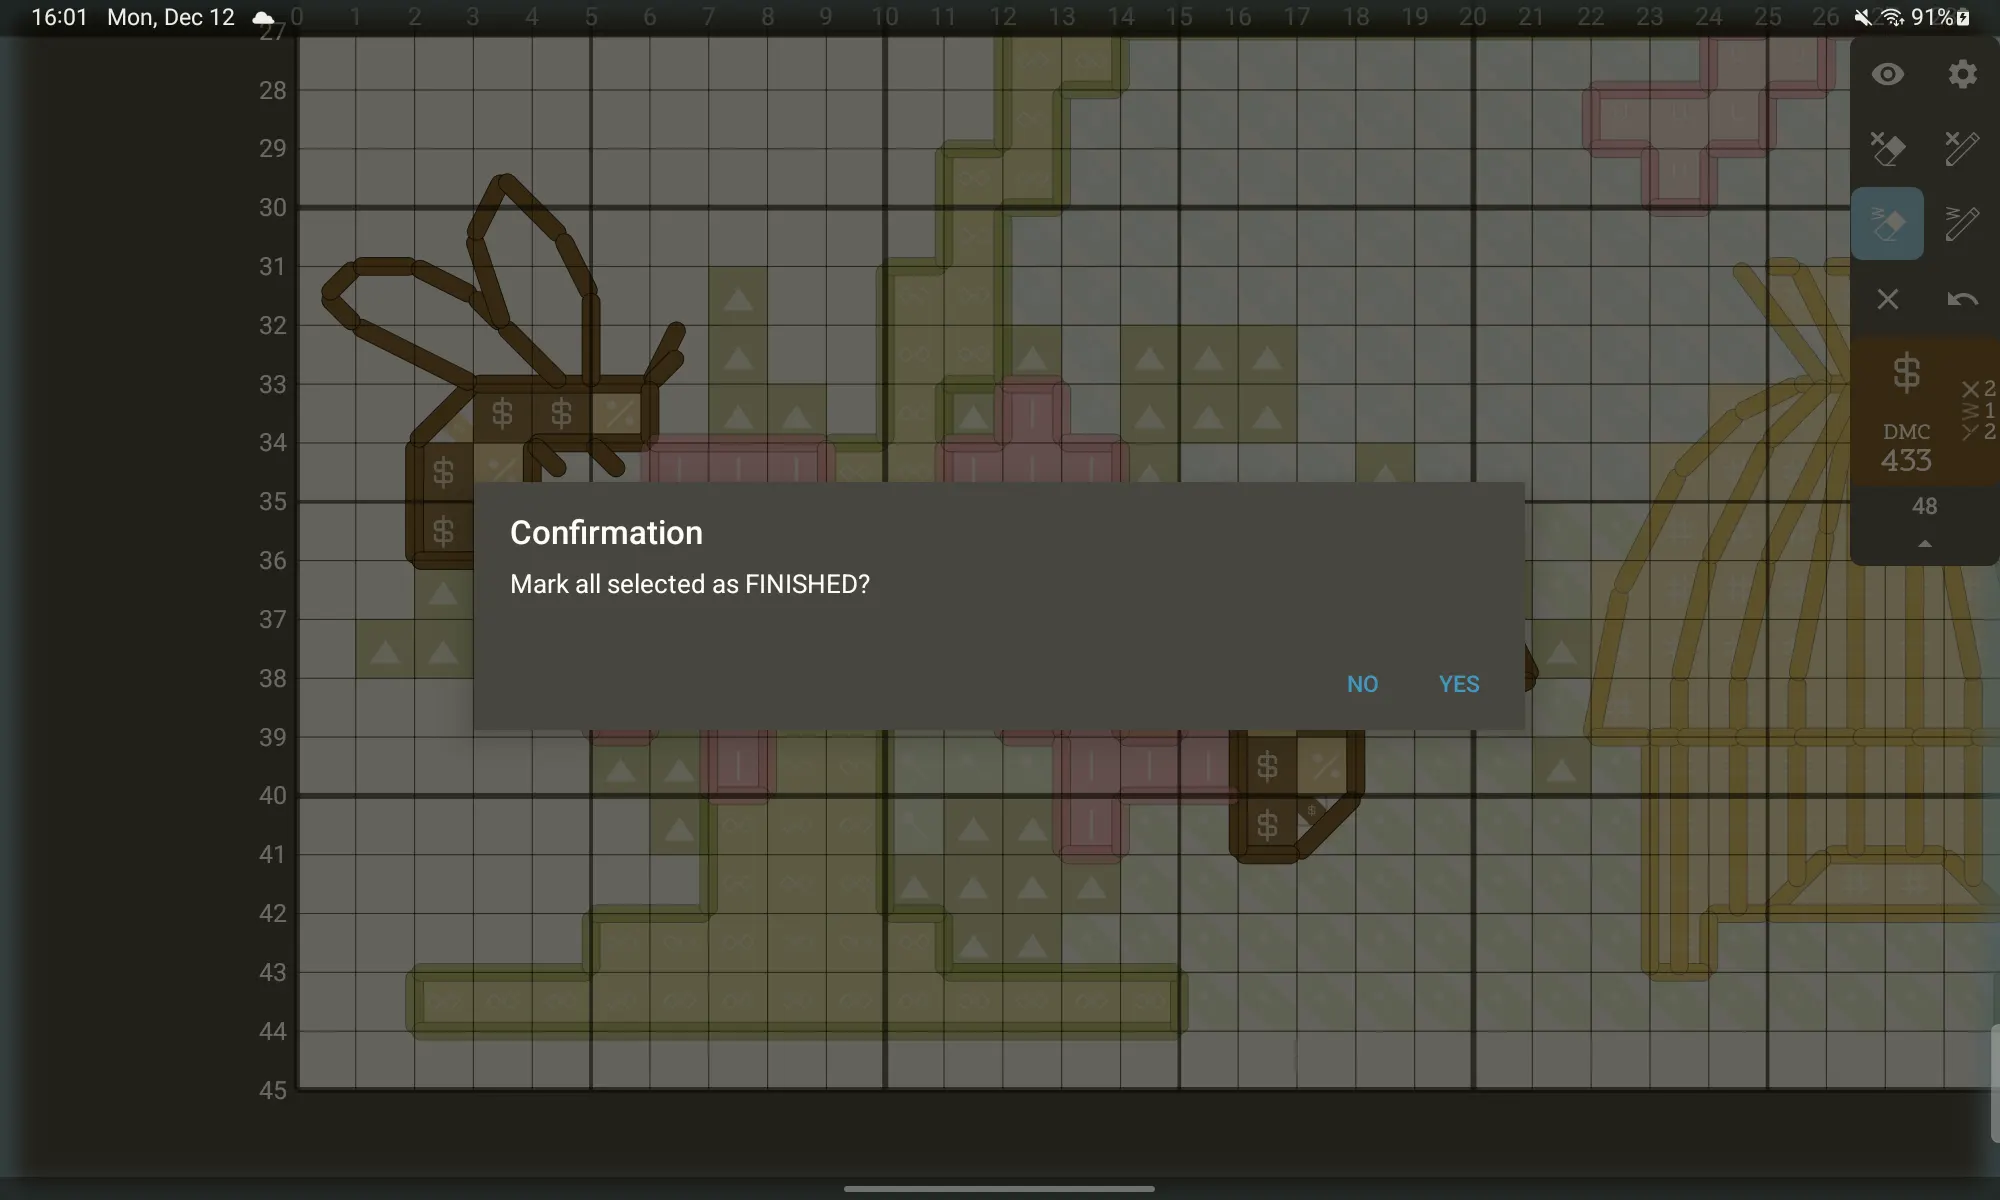
Warning before erasing
Result - all erased
A pencil can work in the same way, i.e. restore the entire backstitch or elements of the selected color, if you accidentally erased them all and did not immediately notice
Erase and return backstitch and elements can work if no color is selected.
Exit from the chart
To exit the map, simply press the «Back» button on your device. Note that if some mode is activated, some panel is open, or a color is selected, then by pressing the «Back» button, it will first:
— the selected color will has reseted
— then the panel will has closed
— then the editor mode will has reseted to the view mode
And only now the exit action will be triggered. If the exit confirmation is enabled in the application settings, then you will need to press it twice.
The progress of the stitching automatically saves when you are closing the screen.
The next time you open the pattern, you will see the same place and with the selected color at the time of closing, if it was not reset by force.